
The program settings are represented by two screens of settings, this is the BASE SETTINGS screen and the COLOR CORRECTION SETTINGS screen. Below is a list of settings for each of the screens:
Base application settings
To go to the base settings screen, you must click on the corresponding button on the main screen of the program, as shown in the picture below:

Next, the base settings window opens:
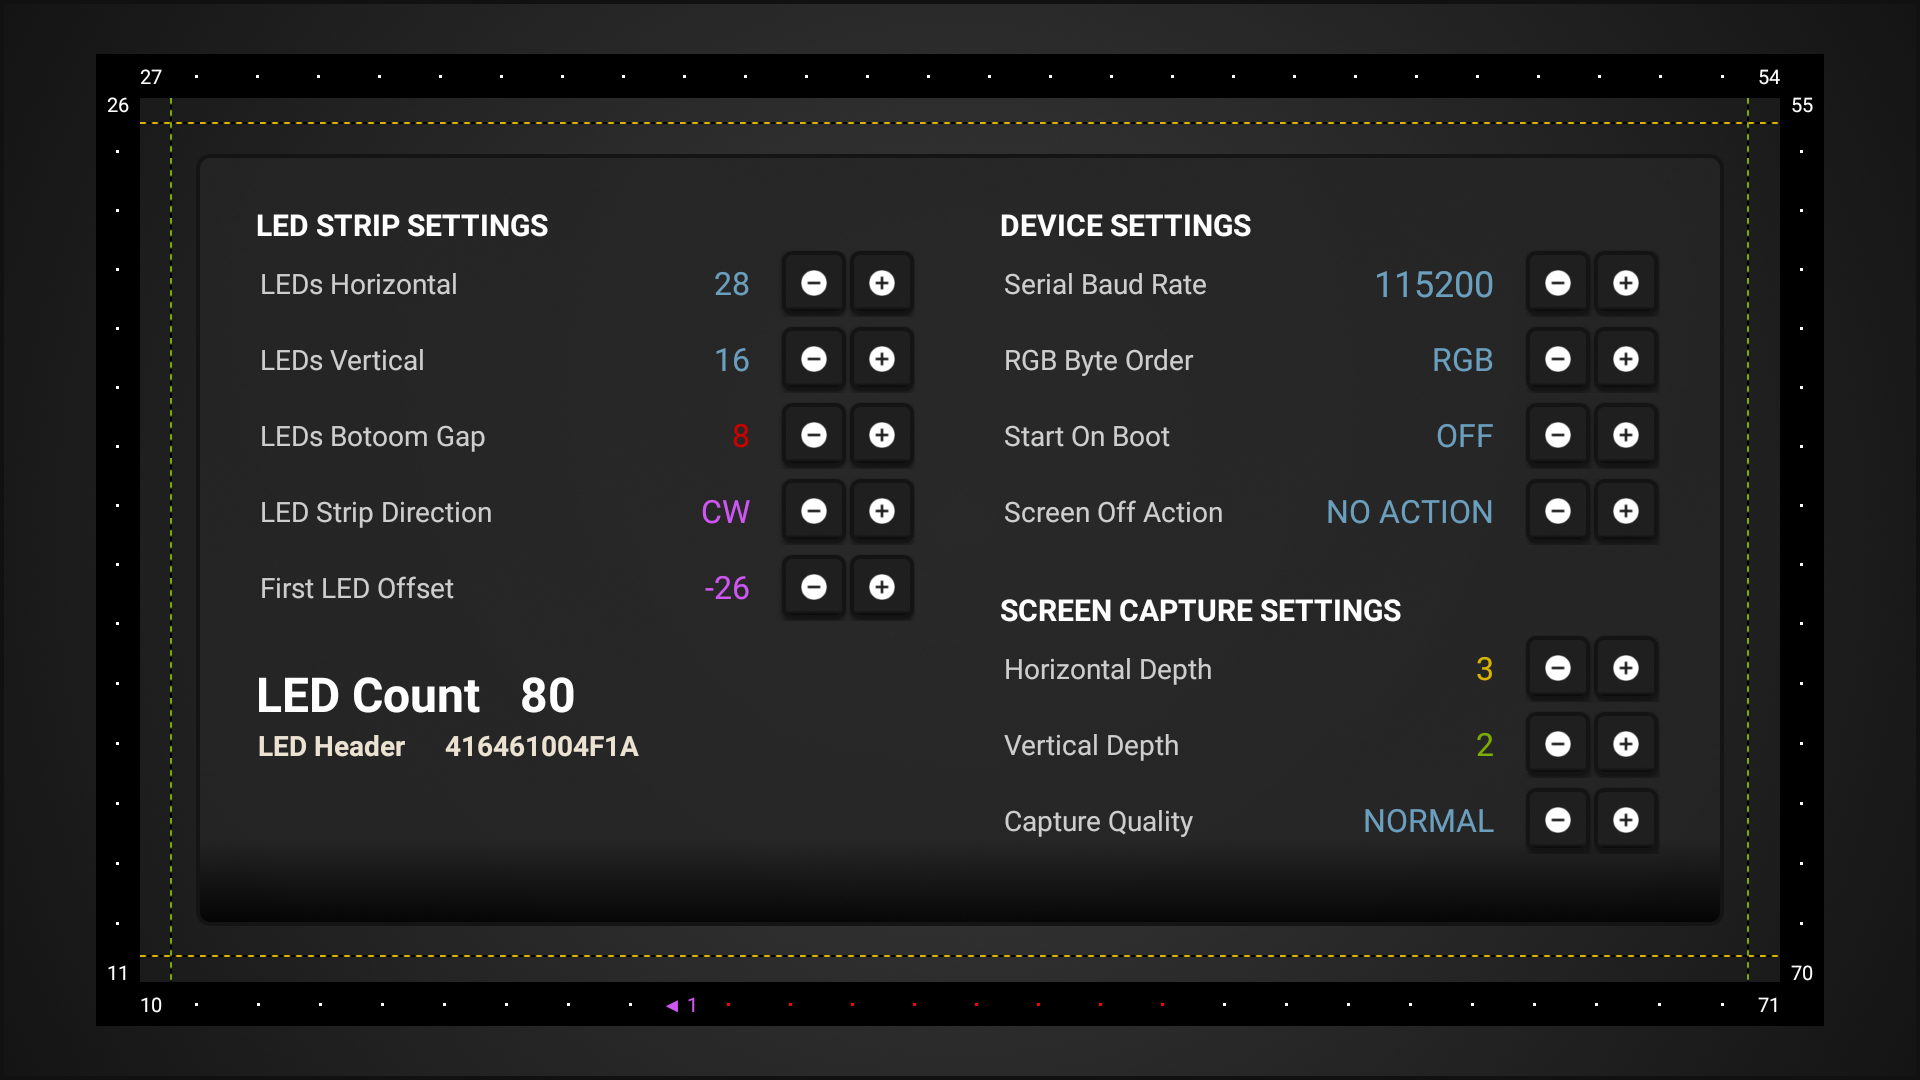
On this screen there are three sections of settings: LED STRIP SETTINGS, DEVICE SETTINGS and SCREEN CAPTURE SETTINGS, consider these sections in detail:
LED STRIP SETTINGS – This section contains settings describing the configuration and placement of your LED strip on a TV or monitor. This section has several settings, let’s conside them in more detail:
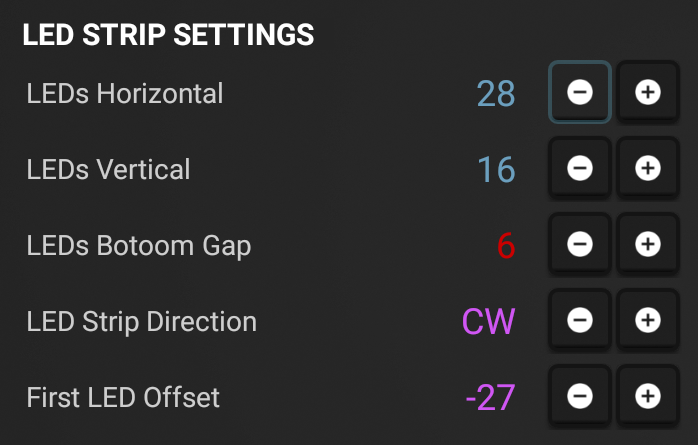
LEDs Horizontal – This setting specifies the number of LEDs in our LED strip horizontally, in my case, for the 42″ screen, 28 LEDs:

LEDs Vertical – This setting sets the number of LEDs vertically, in my case, for the 42″ screen, 16 LEDs:

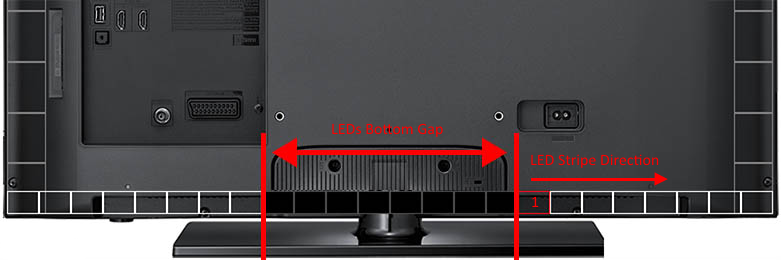
LEDs Bottom Gap – If your screen is on a stand, you may need a gap in which there are no LEDs in the bottom horizontal segment of the LED strip, this setting allows you to set this gap (measured in the number of LEDs).
When viewed from the back of the screen:
The same in the program settings:


LED Strip Direction – This setting determines the direction of your LED strip and must correspond to the marking applied to the LED strip itself, can take the values “CW” (Clockwise) and “CCW” (Counterclockwise).
First LED Offset – This setting is responsible for shifting the location of the first LED in the LED strip relative to the upper-left corner of the screen (viewed from the front). This setting shows where our LED strip starts, where we will connect our microcontroller (Arduino) and where the signal will go along the chain in the direction indicated in the “LED Strip Direction” setting.
For example, the pictures below show the adjustment of the four LEDs offset from the zero point(the upper-left corner of the screen) and the direction of the LED strip:

The offset for the four LEDs selected in the “First LED Offset”:

The direction of the LED strip “CW” – clockwise:

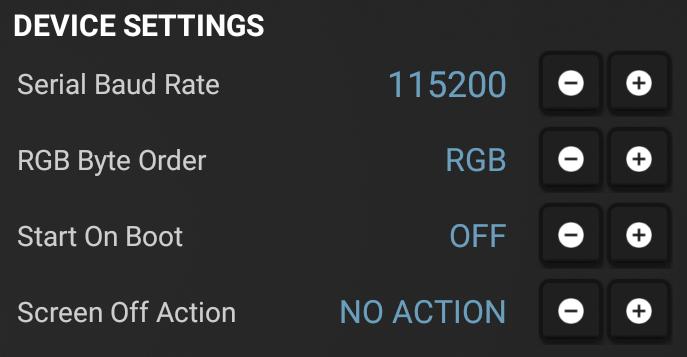
DEVICE SETTINGS – This section contains the basic settings of the program, settings for the connection speed with the microcontroller (Arduino), setting the order of the color output, the settings for autostart program at system startup, setting the program behavior when the screen is turned off:
Consider these settings in more detail:
Serial Baud Rate – This setting allows you to choose the data transfer speed between your Android device and the Arduino microcontroller. It is important to understand that the same data transfer speed should be selected in the sketch settings(#define BAUD_RATE 115200) for Arduino AAA.ino, which we talked about in the description of the Hardware Setup:

RGB Byte Order – The setting determines in what order to send color data to the microcontroller Arduino, RGB, RBG, GBR, GRB, etc. If you are using a sketch for Arduino from this description, then this parameter should not be changed, by default RGB:

Start On Boot – Setting allows you to enable/disable autorun program at system startup and start it in last active mode:

Screen Off Action – The setting allows you to select the behavior of the backlight when the display is turned off, for example, you can turn on the “SINGLE COLOR MODE” or “COLOR EFFECT MODE”. It is also possible to turn off all active modes or to be idle when the display is turned off. When the display is turned on again, the program will return to the last active mode of operation that was before the display was turned off:

SCREEN CAPTURE SETTINGS – In this section there are settings intended for controlling the operation mode of the “SCREEN CAPTURE MODE”:

Consider these settings in more detail:
Horizontal Depth – The setting specifies the depth of the image capture area horizontally. The depth of the capture zone is measured as a percentage of the screen size in height. The yellow dotted line in the picture shows the current depth of the capture zone:


Vertical Depth – The setting specifies the depth of the image capture area vertically. The depth of the capture zone is measured as a percentage of the screen size in width. The green dashed line in the picture shows the current depth of the capture zone:


Capture Quality – The setting specifies the quality level of the captured image. The higher the quality, the more accurate and detailed the backlight will match the image on the screen. High values of this setting can reduce performance on weak systems:

Color correction
To go to the color correction settings screen, click on the corresponding button on the main screen of the program, as shown in the picture below:

Next, the color correction settings window opens:
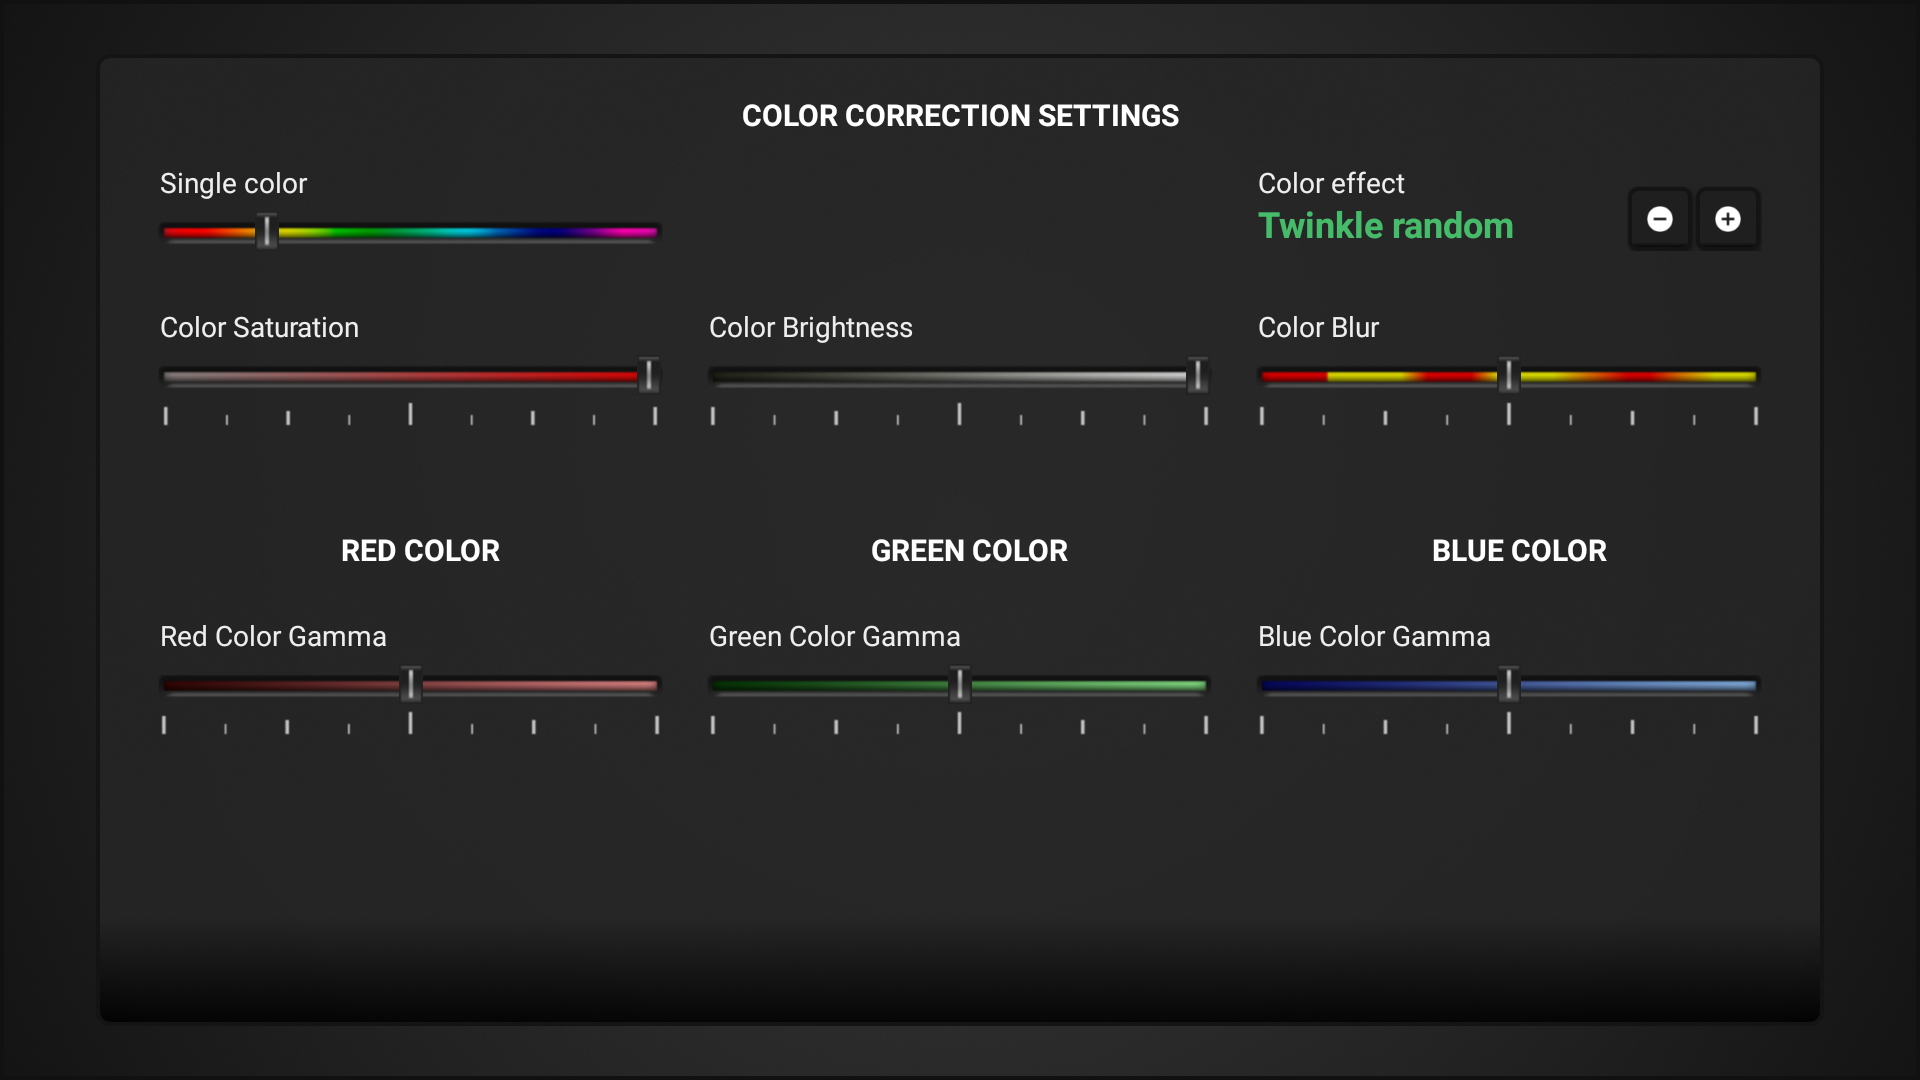
This screen shows the settings for controlling the color correction and selecting the color effects of the backlight: Single Color, Color Effect, Color Saturation, Color Brightness, Color Blur and RGB color gamma settings:
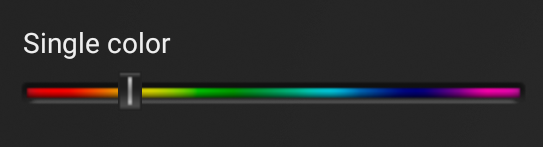
Single color – The setting is used to select the backlight color. The setting is for the “SINGLE COLOR MODE”:
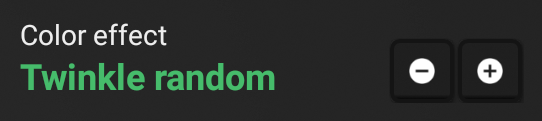
Color effect – The setting allows you to select the desired color effect of the backlight. The setting is for the “COLOR EFFECT MODE”:
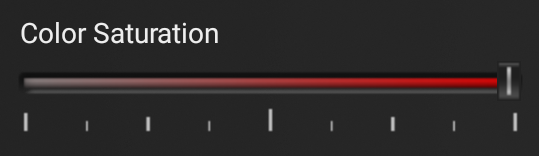
Color Saturation – Adjust the color saturation of the backlight. Adjusting allows you to increase/decrease the backlight saturation level:
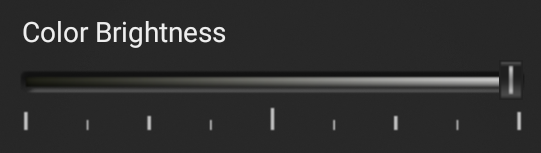
Color Brightness – Adjust the brightness of the backlight colors. Adjusting allows you to increase/decrease the brightness level of the backlight color:
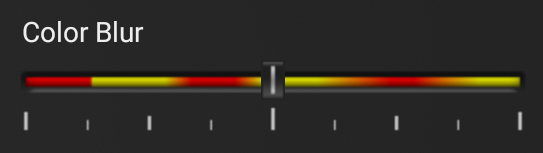
Color Blur – Adjust the blur of the backlight colors. Adjustment allows you to increase/decrease the blur level of the LEDs of the backlight:
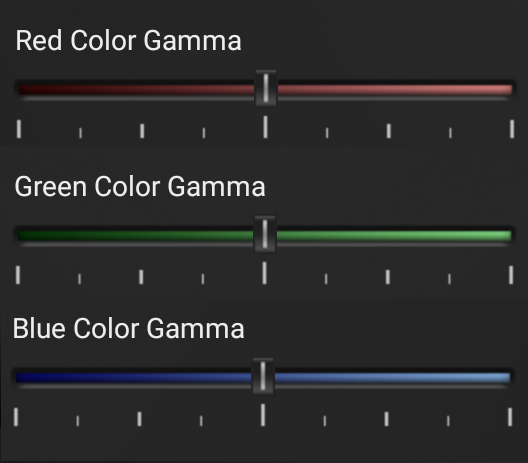
Red/Green/Blue Color Gamma – Gamma correction settings for each of the three primary colors in the RGB palette: